

Shipping a Windows app means feeding the same icon to a dozen surfaces - taskbar, All apps list, Start pins, context menus, the EXE itself - each wanting a different size and, for WinUI/UWP, a different scale-qualified PNG. This guide exports a complete set from one SVG in Axialis IconVectors: a desktop ICO covering 16 to 256 px, plus Visual Assets PNGs with the scale qualifiers Windows expects, then wires both into Package.appxmanifest.
Microsoft's icon guidance sets a baseline of 16, 24, 32, 48, and 256 px so the shell only ever scales down, and documents where the larger sizes surface in Windows 11 (24/32 for All apps and the taskbar, up to 256 for Start pins). The sizes below follow that baseline and add the in-between sizes the classic shell still requests.
Which sizes matter today (and how to avoid upscaling)
- Desktop ICO (classic shell surfaces) — include 16, 20, 24, 32, 40, 48, 64, and 256 (PNG-compressed inside the ICO). This covers the title bar, taskbar, context menus, and high-DPI displays. Keeping the 16/24/32/48/256 baseline lets Windows scale only down.
- WinUI/UWP Visual Assets (PNG with scale qualifiers) — Windows picks the best file by display scale (100-400%). Provide the App Icon ("App list") as Square44x44Logo with
.scale-100/125/150/200/400variants, which means 44/55/66/88/176 px files from a 44 px base. - Optional classic tiles — if you still target Windows 10 tile surfaces, also include Square150x150Logo (the medium tile) at the scales you support.
Export everything from one SVG in IconVectors
- Open or create your icon in IconVectors:
- File → Open… (Ctrl+O) or New Icon (Ctrl+N).
- Use currentColor fills/strokes and a tidy
viewBoxfor easy theming and scaling.
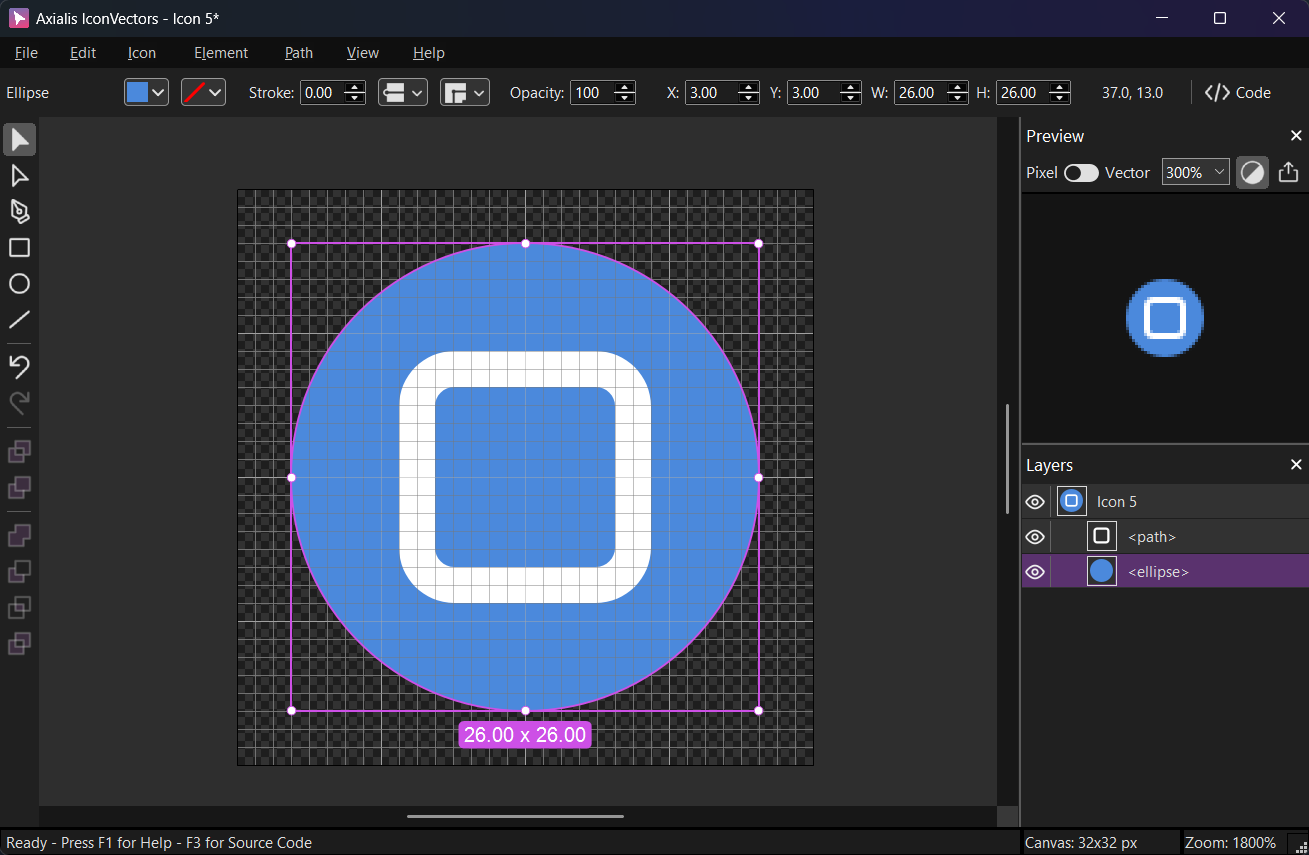
When ready, go to File → Export → Export to Multiple Bitmaps (Shift+Ctrl+F3). - Export the desktop ICO pack
- In the dialog, choose Windows Icon (ICO) as format.
- Select sizes: 16, 20, 24, 32, 40, 48, 64, 256.
- Pick a destination folder (left pane) and set the root name (e.g., AppIcon).
- Click OK to generate a single ICO containing all sizes.
- Export WinUI/UWP Visual Assets PNGs
- Still in the dialog, select PNG and add these groups:
- Square44x44Logo at scale-100/125/150/200/400 (export 44/55/66/88/176 px files).
- Optional (Windows 10 tiles): Square150x150Logo at the scales you support.
- Name files clearly (you can add the scale in the filename now, or let Visual Studio rename/qualify on import).
Windows selects assets by scale qualifiers such as
.scale-200. Visual Studio's Manifest Designer (the "Visual Assets" tab) can also Generate the whole set from a base image; that is fine for a first pass, but handcrafted exports at each size stay crisper. - Still in the dialog, select PNG and add these groups:
Wire the assets into Package.appxmanifest
- Visual Studio (recommended)
- Double-click Package.appxmanifest → Visual Assets.
- Under App Icon (App list), browse to your Square44x44Logo images; Visual Studio manages the scale qualifiers (
scale-100/125/150/200/400) for you. - Optionally add Square150x150Logo (the medium tile) for Windows 10 tile surfaces.
- Point desktop surfaces (EXE icon) to your ICO if your project type exposes an application icon setting.
- Manual XML (advanced)
<uap:VisualElements
    DisplayName="My App"
    Square44x44Logo="Assets\Square44x44Logo.png"
    Square150x150Logo="Assets\Square150x150Logo.png"
    BackgroundColor="transparent"
    Description="My app">
  <!-- Windows uses scale-qualified variants like:
       Assets\Square44x44Logo.scale-100.png, .scale-125.png, .scale-150.png, .scale-200.png, .scale-400.png -->
</uap:VisualElements>
The
uap:VisualElementselement owns Square44x44Logo and Square150x150Logo properties; provide the base logical name and place the scale-qualified PNGs alongside it.
Quality tips (keep it crisp)
- Design at grid sizes (for example 24×24 or 48×48), use whole-pixel coordinates, and snap strokes; always include a 256×256 source so Windows never upscales.
- Alpha and background — export transparent PNGs with no baked-in background. The manifest's
BackgroundColorcan staytransparentfor modern icons. - Test at scale — on HiDPI displays Windows picks
.scale-200or higher, so check how the icon reads at 24 and 32 px in the actual shell.
Troubleshooting
- Compile errors about logo sizes — the build checks exact pixel dimensions per asset, so confirm each PNG is the size its qualifier claims (no off-by-one).
- Mixed qualifiers — don't mix qualified and unqualified names for the same logical asset (for example
StoreLogo.pngnext toStoreLogo.scale-125.png). - Plated vs unplated — Windows plates some logos depending on the surface. Use the App Icon flow in WinUI/Visual Studio and supply transparent PNGs so plating stays under your control.
Related guides
Start Making SVG Icons Today with IconVectors
Download the fully-functional 30‑Day Free Trial and unlock your icon design workflow.
Version 2.00 for Windows (September 3, 2026), macOS (September 15, 2026), and Linux (September 18, 2026).