Native C++ toolkits have no built-in SVG icon pipeline, so teams end up shipping dozens of PNG sizes or hand-tuned bitmaps that blur on high-DPI screens. This guide shows how to export a clean SVG from Axialis IconVectors and render it sharply in WinUI (Windows) and Qt (cross-platform), with code you can paste directly into a control.
You get three concrete paths: load an SVG at runtime with SvgImageSource or QSvgRenderer, export XAML geometry into a PathIcon for brush-based theming, or rasterize off-screen with LunaSVG when you control the drawing yourself.
Why SVG for native C++ apps?
- Crisp at any size — one source scales perfectly for 1×/2×/3× displays.
- Theme-ready — when icons use
currentColor(or XAML brushes), you can recolor them from code or styles. - Smaller bundles — a few SVGs replace many PNG variants.
Step-by-step: export in IconVectors, then render in C++
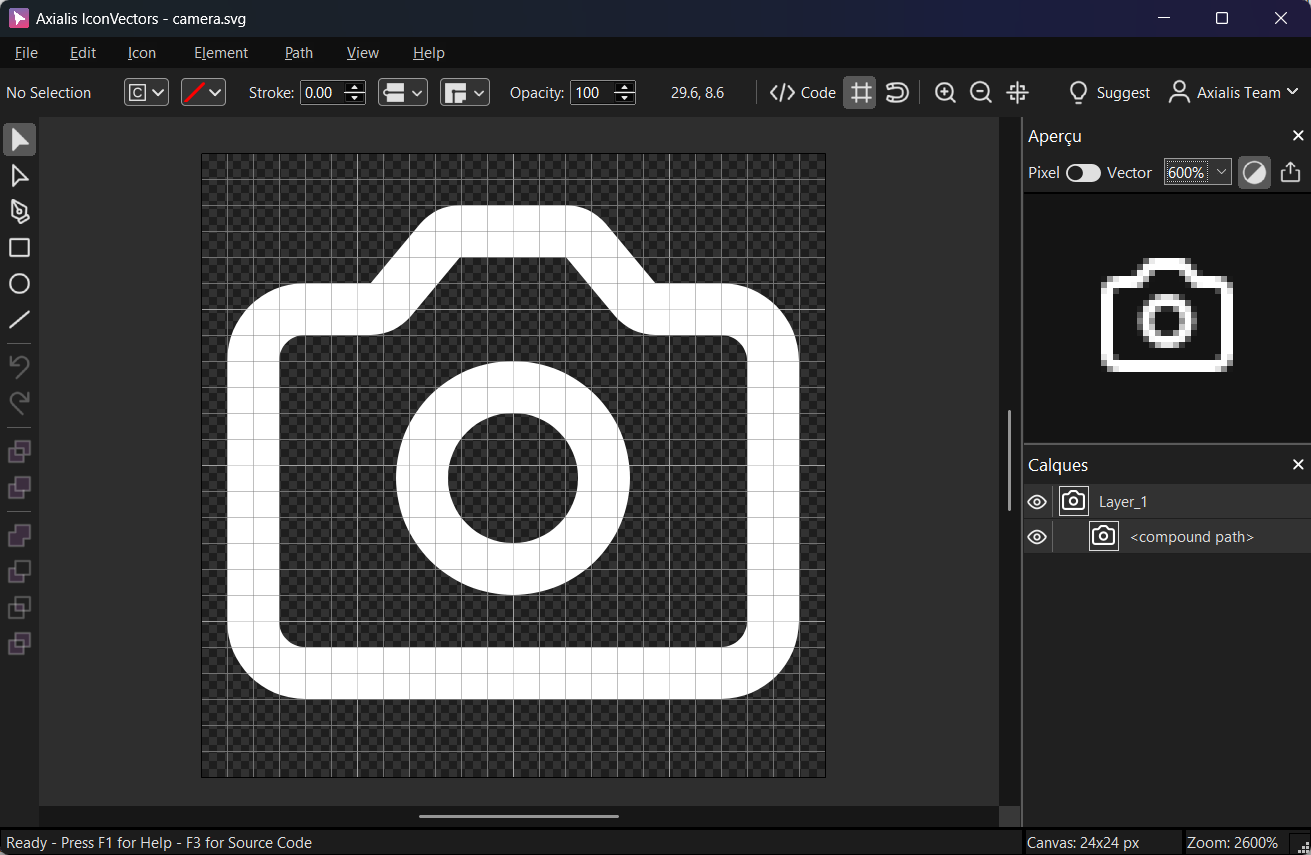
- Export a clean SVG from IconVectors
- Open or create: File → Open… (Ctrl+O) or New Icon (Ctrl+N).
- Theme-ready paint: set fills/strokes to
currentColorso you can recolor in apps. - Compact output: File → Export → Export Minified (Shift+Ctrl+M) for a lean SVG with the correct
viewBox. - Alternate for WinUI: to bind color via XAML brushes, export geometry: File → Export → Export to XAML (Shift+Ctrl+X).
- WinUI: load an SVG at runtime (uses
SvgImageSource)XAML — bind an SVG file packaged in
Assets/Icons/:<Image Width="24" Height="24"> <Image.Source> <SvgImageSource UriSource="ms-appx:///Assets/Icons/check.svg"/> </Image.Source> </Image>C++/WinRT — create and set the source programmatically:
#include <winrt/Microsoft.UI.Xaml.Media.Imaging.h> using namespace winrt::Microsoft::UI::Xaml::Media::Imaging; using namespace winrt::Windows::Foundation; SvgImageSource svg{ Uri{ L"ms-appx:///Assets/Icons/check.svg" } }; // myImage is an Image control reference myImage().Source(svg);Tip: this approach is best when you keep the SVG's own colors. For app-driven theming, use XAML geometry in the next step. - WinUI: export XAML paths for brush-based theming
Export geometry from IconVectors via File → Export → Export to XAML (Shift+Ctrl+X) and paste into a
PathIcon. Now you can recolor with the control'sForegroundbrush.<PathIcon Width="20" Height="20" Foreground="{ThemeResource SystemControlForegroundBaseHighBrush}" Data="M4 12 8 16 20 4"/>Use theme resources or your own
SolidColorBrushto match light/dark modes dynamically. - Qt: render an SVG with
QSvgRendererPackage the icon in a Qt resource (
.qrc) so it ships inside the app binary:<RCC> <qresource prefix="/icons"> <file>icons/check.svg</file> </qresource> </RCC>Render to a
QPixmapand create aQIcon:#include <QSvgRenderer> #include <QPainter> #include <QIcon> #include <QPixmap> QSvgRenderer renderer(QStringLiteral(":/icons/check.svg")); QPixmap pm(24, 24); pm.fill(Qt::transparent); QPainter p(&pm); renderer.render(&p); p.end(); QIcon icon(pm); myButton->setIcon(icon); - Qt: recolor at runtime (uses
currentColor)Export SVGs from IconVectors with
fill="currentColor"/stroke="currentColor". To theme, replacecurrentColorwith a hex color in memory, then render:#include <QFile> #include <QSvgRenderer> QIcon makeIconColored(const QString& svgPath, const QColor& color, const QSize& size) { QFile f(svgPath); if (!f.open(QIODevice::ReadOnly)) return QIcon{}; QByteArray xml = f.readAll(); xml.replace("currentColor", color.name(QColor::HexRgb).toUtf8()); QSvgRenderer r(xml); QPixmap pm(size); pm.fill(Qt::transparent); QPainter p(&pm); r.render(&p); p.end(); return QIcon(pm); } // Usage: auto themed = makeIconColored(":/icons/check.svg", QColor("#2563EB"), QSize(20,20)); myAction->setIcon(themed); - Package & verify
- WinUI: put SVGs under
Assets/Icons/, build action Content, and ensure they copy to output. - Qt: register in
.qrc; reference via:/icons/name.svg. - Final check: open the SVG in IconVectors' read-only viewer (View → Source Code (F3)) to confirm
viewBoxandcurrentColorare present for theming.
- WinUI: put SVGs under
Render a SVG icon using LunaSVG
LunaSVG is a lightweight, MIT-licensed C++ library that parses and renders SVG to an RGBA bitmap buffer. It targets static SVG rendering (no scripting or animation) and covers most of SVG 1.1/Tiny. It installs via Homebrew, vcpkg, and Conan, and builds cleanly with CMake.
- When to use it: render SVGs to pixels off-screen (for custom toolkits, game UIs, Dear ImGui overlays, etc.), or to feed another API (e.g., Qt
QImage/QPixmap). - Notable users/integrations: RmlUi's SVG plugin uses LunaSVG under the hood.
Install options
- Homebrew (macOS/Linux):
brew install lunasvg - vcpkg:
vcpkg install lunasvg(then integrate with CMake toolchain) - Conan: add
lunasvg/<version>toconanfile(e.g.,3.0.1) - From source: clone and build with CMake; the repo includes a simple svg2png example.
Minimal C++ example for Windows (render to RGBA and convert to HBITMAP)
The snippet below loads an SVG, rasterizes it to a LunaSVG Bitmap, then converts it to a Windows HBITMAP. The LunaSVG API centers on lunasvg::Document, loaded with loadFromData() (or loadFromFile()) and rendered with renderToBitmap().
Embedding the SVG as a string literal (static const char kSVGContent[]) keeps the icon inside the binary, so the executable needs no external file at runtime. Paste the minified SVG from IconVectors straight into the raw-string block.
#include <lunasvg.h>

#include <windows.h>   // HBITMAP, CreateDIBSection, etc.
#include <algorithm>
#include <cstdint>
#include <cstring>
#include <iostream>

using namespace lunasvg;

// Helper: copy a lunasvg::Bitmap into a 32-bpp top-down DIB HBITMAP.
static HBITMAP CreateHBITMAPFromLunaBitmap(const lunasvg::Bitmap& bmp)
{
    if (!bmp.valid()) return nullptr;

    const int width     = bmp.width();
    const int height    = bmp.height();
    const int srcStride = bmp.stride();       // bytes per row from LunaSVG (ARGB premultiplied)
    const int dstStride = width * 4;          // BGRA premultiplied for 32bpp DIB

    BITMAPINFO bi{};
    bi.bmiHeader.biSize        = sizeof(BITMAPINFOHEADER);
    bi.bmiHeader.biWidth       = width;
    bi.bmiHeader.biHeight      = -height;     // top-down DIB
    bi.bmiHeader.biPlanes      = 1;
    bi.bmiHeader.biBitCount    = 32;
    bi.bmiHeader.biCompression = BI_RGB;

    void* dibData = nullptr;
    HDC hdc = GetDC(nullptr);
    HBITMAP hbmp = CreateDIBSection(hdc, &bi, DIB_RGB_COLORS, &dibData, nullptr, 0);
    ReleaseDC(nullptr, hdc);
    if (!hbmp || !dibData) return nullptr;

    const uint8_t* src = bmp.data();              // ARGB premultiplied (A,R,G,B)
    uint8_t* dst       = static_cast<uint8_t*>(dibData); // BGRA premultiplied (B,G,R,A)

    for (int y = 0; y < height; ++y)
    {
        const uint8_t* srow = src + y * srcStride;
        uint8_t* drow       = dst + y * dstStride;

        // Convert per pixel: ARGB -> BGRA
        for (int x = 0; x < width; ++x)
        {
            const uint8_t A = srow[x*4 + 0];
            const uint8_t R = srow[x*4 + 1];
            const uint8_t G = srow[x*4 + 2];
            const uint8_t B = srow[x*4 + 3];

            drow[x*4 + 0] = B; // B
            drow[x*4 + 1] = G; // G
            drow[x*4 + 2] = R; // R
            drow[x*4 + 3] = A; // A (premultiplied already)
        }
    }
    return hbmp;
}

// Export the minified code from IconVectors and copy it here
static const char kSVGContent[] = R"SVG(
<svg width="400" height="200" xmlns="http://www.w3.org/2000/svg">
  <rect id="red-rect" x="20" y="20" width="100" height="100" fill="red"/>
  <circle id="blue-circle" cx="200" cy="70" r="50" fill="blue"/>
  <rect id="green-rect" x="300" y="30" width="70" height="130" fill="green"/>
</svg>
)SVG";

int main()
{
    // 1) Load the SVG from in-memory text
    auto document = Document::loadFromData(kSVGContent);
    if (!document)
    {
        std::cerr << "Failed to load SVG.\n";
        return 1;
    }

    // 2) Render to a bitmap. You can specify explicit pixel size if you like:
    //    auto bmp = document->renderToBitmap(400, 200);
    auto bmp = document->renderToBitmap();
    if (!bmp.valid())
    {
        std::cerr << "Failed to render SVG.\n";
        return 2;
    }

    // 3) Convert to HBITMAP (32-bpp top-down DIB)
    HBITMAP hbmp = CreateHBITMAPFromLunaBitmap(bmp);
    if (!hbmp)
    {
        std::cerr << "Failed to create HBITMAP.\n";
        return 3;
    }

    // TODO: use hbmp with GDI/GDI+ or assign to a control.
    // Example: select into a memory DC, BitBlt to a window DC, etc.

    // 4) Cleanup when done
    DeleteObject(hbmp);
    return 0;
}
Notes
- Helper function — the
CreateHBITMAPFromLunaBitmaphelper shows the exact layout of LunaSVG's bitmap buffer, so you can adapt it to any target (GDI+, Direct2D, a texture upload). - LunaSVG pixel format — the bitmap returned by LunaSVG is ARGB premultiplied in byte order (A, R, G, B). Your DIB copy should preserve premultiplication.
- 32-bpp DIB layout — a 32-bit
BI_RGBDIB is stored as BGRA (little-endian). Swizzle channels from ARGB→BGRA when copying to avoid red/blue swap. - Alpha blending — GDI's
AlphaBlendexpects premultiplied source pixels whenAC_SRC_ALPHAis set, which matches LunaSVG's output.
Optional: blit the HBITMAP with per-pixel alpha
// After you get HBITMAP hbmp:
HDC hdcScreen = GetDC(hwnd);
HDC hdcMem    = CreateCompatibleDC(hdcScreen);
HBITMAP old   = (HBITMAP)SelectObject(hdcMem, hbmp);

BLENDFUNCTION bf{};
bf.BlendOp             = AC_SRC_OVER;
bf.BlendFlags          = 0;
bf.SourceConstantAlpha = 255;       // use per-pixel alpha
bf.AlphaFormat         = AC_SRC_ALPHA;

AlphaBlend(hdcScreen, dstX, dstY, width, height,
           hdcMem,     0,    0,  width, height, bf);

SelectObject(hdcMem, old);
DeleteDC(hdcMem);
ReleaseDC(hwnd, hdcScreen);
Pair with IconVectors exports
For best results, export icons from IconVectors as minified SVG with a clean viewBox and currentColor paints, then rasterize with LunaSVG—or keep SVGs vector and recolor upstream.
Troubleshooting
- Icon won't recolor — ensure your paths use
currentColor(SVG) or you exported XAML geometry and you're settingForeground. - Fuzzy at small sizes — design on a grid (e.g., 24×24), keep whole-pixel coordinates, and export integer pixel sizes for raster previews.
- Missing at runtime — verify build actions (WinUI) and your
.qrcresource path (Qt).
Related guides
- SVG Icons in C++ with LunaSVG
- SVG Icons in C++ with NanoSVG
- SVG Icons in wxWidgets C++
- C++ SVG Icons (use case)
Start Making SVG Icons Today with IconVectors
Download the fully-functional 30‑Day Free Trial and unlock your icon design workflow.
Version 1.70 for Windows and macOS