Shipping raw <img> icons in React costs you CSS theming, accessibility props, and tree-shaking, and dropping inline SVG into JSX bloats your components. The fix is SVGR: import a .svg file and get back a real React component you can style with currentColor, pass className and title to, and bundle only where it is used.
This guide wires up vite-plugin-svgr for a Vite project and @svgr/webpack for Next.js, adds the TypeScript module declarations both need, and starts from a minified IconVectors SVG that already paints with currentColor and keeps a clean viewBox.
Export a clean, themable SVG from IconVectors
- Open or create your icon:
- File → Open… (Ctrl+O) or New Icon (Ctrl+N).
- Set fills/strokes to
currentColorso the icon inherits CSS/text color in React.
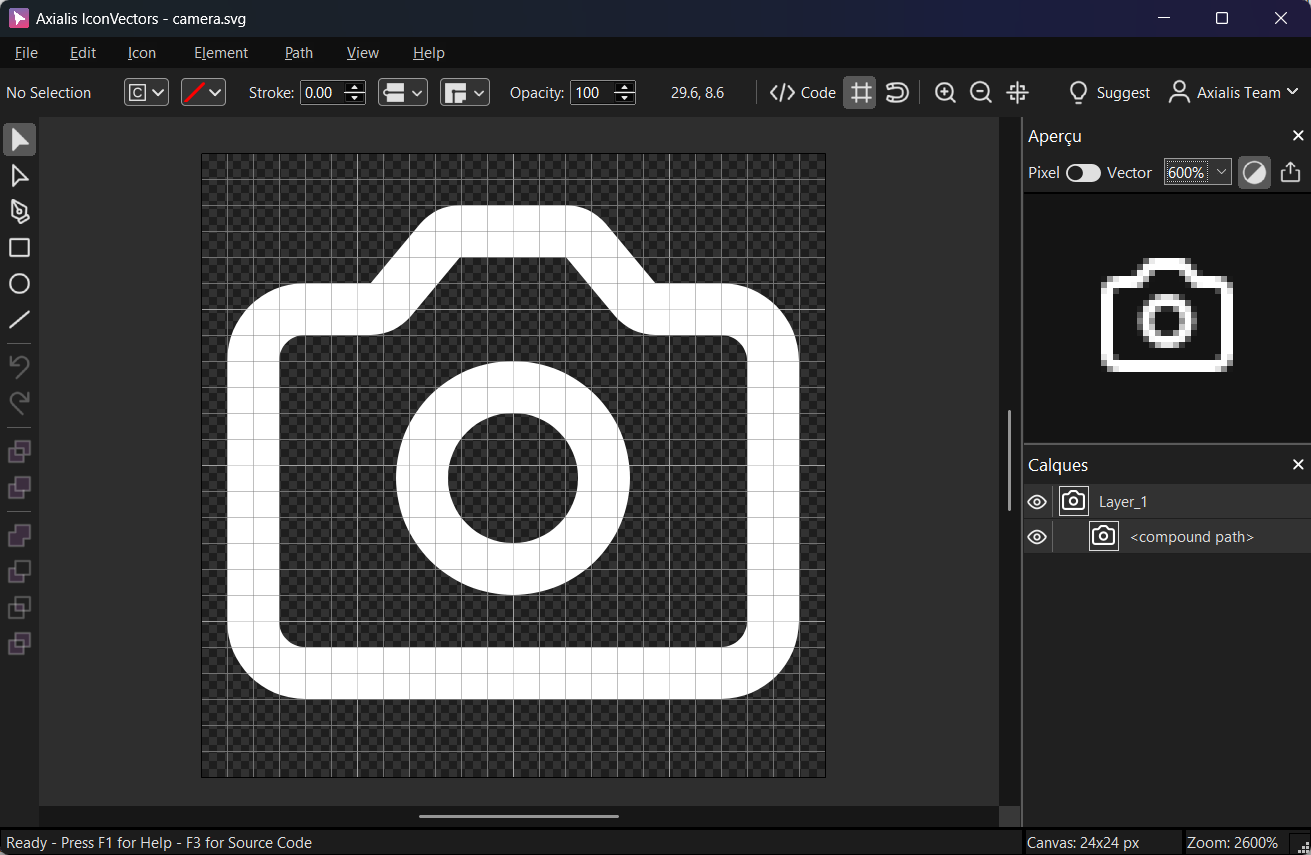
Export a minified SVG via File → Export → Export Minified (Shift+Ctrl+M) to strip metadata and keep a clean viewBox.
Vite (React + TypeScript): install & configure SVGR
- Install
npm i -D vite-plugin-svgr # or: pnpm add -D vite-plugin-svgr # or: yarn add -D vite-plugin-svgr - Configure
vite.config.tsimport { defineConfig } from 'vite' import react from '@vitejs/plugin-react' import svgr from 'vite-plugin-svgr' export default defineConfig({ plugins: [ react(), svgr({ svgrOptions: { // Keep viewBox for proper scaling; strip width/height svgo: true, svgoConfig: { plugins: [ { name: 'preset-default', params: { overrides: { removeViewBox: false } } }, 'removeDimensions' ] }, titleProp: true } }) ] }) - Add TypeScript types (project root)
// env.d.ts /// <reference types="vite/client" /> declare module '*.svg?react' { import * as React from 'react' const Component: React.FC<React.SVGProps<SVGSVGElement> & { title?: string }> export default Component } - Import & use
import CheckIcon from './icons/check.svg?react' export function Button() { return ( <button className="inline-flex items-center gap-2 text-blue-600 hover:text-blue-700"> <CheckIcon className="w-5 h-5" aria-hidden="true" /> Save </button> ) }Theming: because the SVG paints with
currentColor, the icon inherits the button's text color. Override it with a utility class such astext-rose-600or an inlinestyle={{ color: '#2563eb' }}.
Next.js: configure SVGR and import SVG components
- Install
npm i -D @svgr/webpack # (Next already includes SVGO; we'll keep viewBox and remove width/height) - Configure
next.config.js/** @type {import('next').NextConfig} */ const nextConfig = { webpack(config) { // Let SVGR handle .svg imports as React components config.module.rules.push({ test: /\.svg$/i, issuer: /\.[jt]sx?$/, use: [{ loader: '@svgr/webpack', options: { svgo: true, svgoConfig: { plugins: [ { name: 'preset-default', params: { overrides: { removeViewBox: false } } }, 'removeDimensions' ] }, titleProp: true } }] }) return config } } module.exports = nextConfig - Add TypeScript types (project root)
// svg.d.ts declare module '*.svg' { import * as React from 'react' const Component: React.FC<React.SVGProps<SVGSVGElement> & { title?: string }> export default Component } - Import & use
import CheckIcon from '@/icons/check.svg'

export default function Page() {
  return (
    <main className="p-6 text-emerald-600">
      <h1 className="text-xl font-semibold flex items-center gap-2">
        <CheckIcon className="w-6 h-6" aria-hidden="true" />
        Profile updated
      </h1>
    </main>
  )
}
Tree-shaking & project structure
- Import icons directly from the files where they are used (for example
import Icon from './x.svg'). Each SVGR component is its own module, so any icon you never import is dropped from the bundle. - Barrel files (
icons/index.ts) can defeat that if the package is treated as side-effectful. If you use a barrel, set"sideEffects": falsein the icons package so unused re-exports are still eliminated. - Props: SVGR components forward standard
SVGProps<SVGSVGElement>, so you can passclassName,title,role,aria-label, and event handlers straight through.
Troubleshooting
- Icon will not change color — a path still has a hard-coded
fill="#..."orstroke="#...". Switch the themable layer tofill="currentColor"orstroke="currentColor". - Icon scales or crops wrong — SVGO stripped the
viewBox. Keep it by settingremoveViewBox: falseand removing explicitwidth/height, exactly as in the configs above. - TypeScript cannot resolve the import — add the matching module declaration (
env.d.tsfor Vite's*.svg?react,svg.d.tsfor the Next.js*.svgimport).
Related guides
Start Making SVG Icons Today with IconVectors
Download the fully-functional 30‑Day Free Trial and unlock your icon design workflow.
Version 1.70 for Windows and macOS