A legacy toolbar, installer, or Win32 control still wants a BMP, but your icon only exists as an SVG. This guide rasterizes that SVG to a crisp BMP in Axialis IconVectors, with pixel-perfect sizing and a clear choice between 32BPP alpha (real transparency) and 24BPP flat (opaque or color-keyed).
Why export an SVG to BMP?
SVG is the default for new UI work, but BMP is still the format many older Windows components and toolchains read directly. When a target only accepts an uncompressed bitmap, you export the SVG to BMP rather than re-drawing the icon.
Four things decide whether the result stays sharp:
- Rasterization: an SVG is vector geometry; exporting to BMP samples it onto a fixed pixel grid, so the size and alignment you pick are what you ship.
- Scale: export at whole-pixel sizes (24, 48, 96 px) so strokes land on the grid instead of being blurred by sub-pixel sampling.
- Stroke alignment: paths that fall on half-pixels or use odd stroke widths soften at small sizes; export at integer multiples of your design grid (a 24x24 icon at 24/48/72/96 px).
- Transparency: 32BPP alpha BMP keeps real transparency; 24BPP flat BMP has no alpha, so use it only when the target needs opaque pixels or a color-keyed background.
Step-by-step in IconVectors
- Open, draw, or import an icon.
- Open existing SVG: File → Open… (Ctrl+O).
- Create from scratch: New Icon (Ctrl+N), then draw shapes and paths.
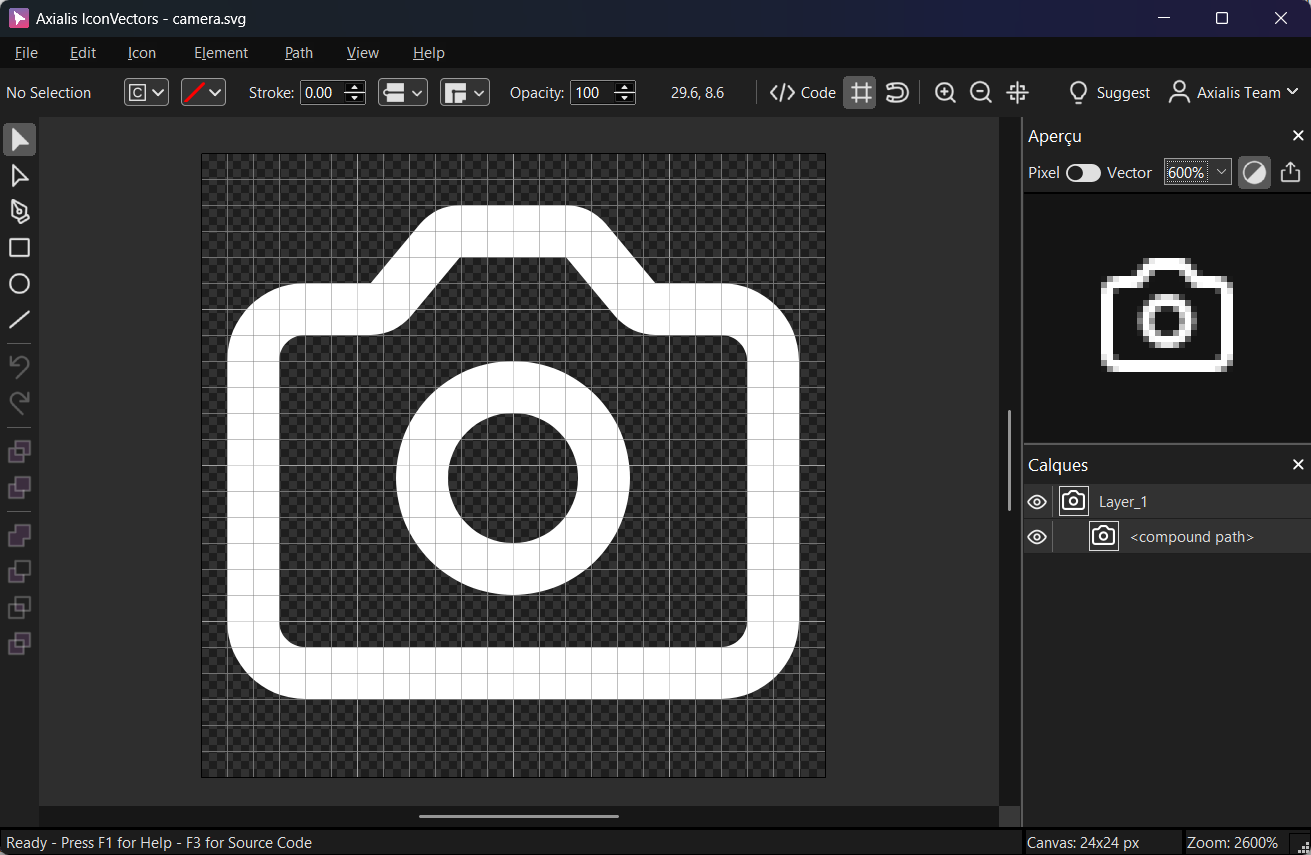
An icon prepared on a 24x24 grid in IconVectors, ready to export at integer scales. - Open the bitmap export dialog: File → Export → Export to Bitmap (Ctrl+F3). This command exports a raster version of your icon and supports many formats, including BMP. (Also available as a batch via Export to Multiple Bitmaps — Shift+F3.)
- Understand the options in the Export to Bitmap dialog:
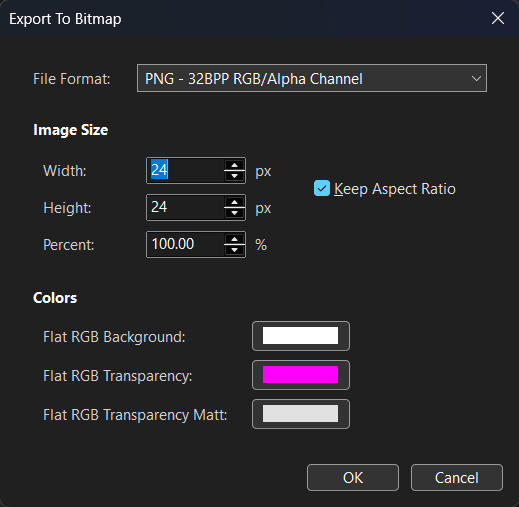
- File Format — choose the target bitmap format. For this tutorial, select BMP. You can export either:
- BMP — 32BPP RGB/Alpha Channel (keeps true transparency).
- BMP — 24BPP Flat RGB (no alpha; for opaque outputs only).
- Image Size — define Width and Height in pixels (or set a Percent). Keep Keep Aspect Ratio checked to avoid distortion.
Tip
If your source canvas is 24x24, export at 24, 48, 72, or 96 px for pixel-perfect results. - Colors — appears when the chosen format has no alpha channel (flat bitmaps):
- Flat RGB Background — the solid background color to composite behind your icon.
- Flat RGB Transparency — the color to treat as "transparent" (for keyed transparency).
- Flat RGB Transparency Matt — optional matte color for smoother edges in formats like GIF.
- File Format — choose the target bitmap format. For this tutorial, select BMP. You can export either:
- Choose transparency:
- Alpha BMP (32BPP) — pick BMP – 32BPP RGB/Alpha Channel to keep real transparency. Background fields are ignored because an alpha channel is written.
- Flat BMP (24BPP) — pick BMP – 24BPP Flat RGB (or any non-alpha bitmap). Choose a Flat RGB Background to bake a solid color, or use Flat RGB Transparency when you need a keyed "transparent" color.
- Export the BMP — click OK, choose a filename, and save. The result is a standard BMP you can use in app UIs (toolbars, buttons, notifications, stores) and across platforms.
Notes & troubleshooting
- Edges look soft? Export at integer multiples of your design grid and prefer even stroke widths for small sizes.
- Need many sizes? Use File → Export → Export to Multiple Bitmaps (Shift+F3) to generate 1x/2x/3x variants in one go.
- Keep the vector too: BMP is final output; keep the SVG source for future edits.
Related guides
Start Making SVG Icons Today with IconVectors
Download the fully-functional 30‑Day Free Trial and unlock your icon design workflow.
Version 1.70 for Windows and macOS