A target that still only accepts bitmaps — a legacy toolbar, a notification tray, a store listing — will not load your SVG. This guide rasterizes an SVG icon into a crisp 32BPP PNG in IconVectors using Export to Bitmap (Ctrl+F3), so the edges stay sharp at the exact pixel size you ship.
Why export an SVG to PNG?
SVG is the default for icons on the web and in modern apps, but plenty of surfaces still expect a raster file: older UI frameworks, OS notification areas, app-store assets, and email. When one of those is your delivery target, you export a PNG from the vector source.
A few things change once you cross from vectors to a fixed pixel grid:
- Rasterization: a vector path has no fixed resolution; exporting to PNG bakes it onto a pixel grid. From that point, the output size and grid alignment you chose are locked into the file.
- Scale and clarity: export at whole-pixel dimensions (24, 48, 96 px) so the rasterizer is not forced to sample across sub-pixel boundaries, which is what softens 1 px strokes.
- Pixel-perfect vs blurred: paths that land on half-pixels, or odd stroke widths at the chosen size, render soft. Export at integer multiples of your design grid instead — a 24x24 icon at 24, 48, 72, or 96 px.
- Transparency: PNG 32BPP RGB/Alpha keeps a true alpha channel, so anti-aliased edges blend onto any background. If you pick a format without alpha, the Colors section lets you composite onto a flat background instead.
Step-by-step in IconVectors
- Open, draw, or import an icon.
- Open existing SVG: File → Open… (Ctrl+O).
- Create from scratch: New Icon (Ctrl+N), then draw shapes and paths.
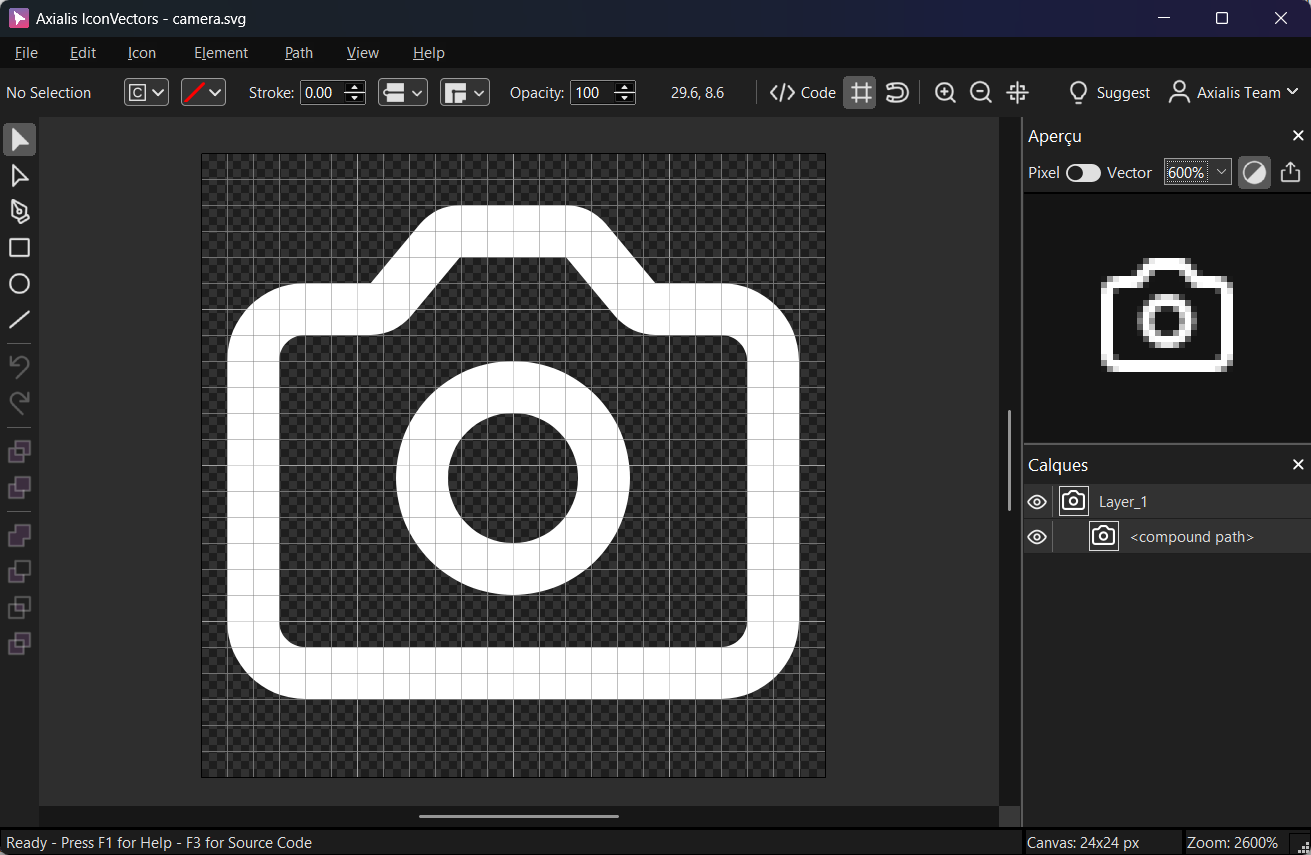
An icon built on a 24x24 grid in IconVectors, ready to export at integer scales. - Open the bitmap export dialog: File → Export → Export to Bitmap (Ctrl+F3). This command exports a raster version of your icon and supports many formats, including PNG. (Also available as a batch via Export to Multiple Bitmaps — Shift+F3.)
- Understand the options in the Export to Bitmap dialog:
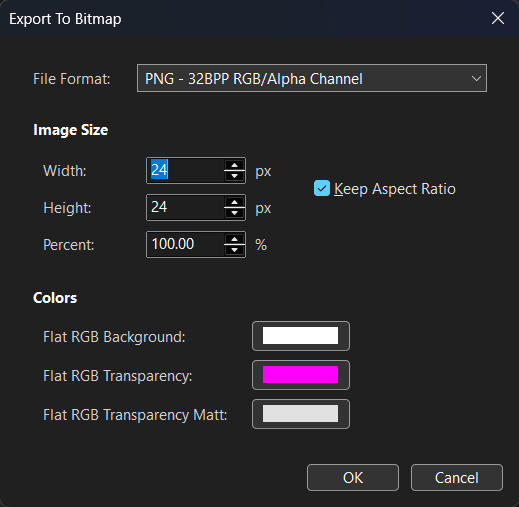
- File Format — choose the target bitmap format. For this tutorial, select PNG:
- PNG — 32BPP RGB/Alpha Channel (keeps true transparency).
- Image Size — define Width and Height in pixels (or set a Percent). Keep Keep Aspect Ratio checked to avoid distortion.
Tip
If your source canvas is 24x24, export at 24, 48, 72, or 96 px for pixel-perfect results. - Colors — appears only when the chosen format has no alpha channel, so it stays disabled for PNG 32BPP:
- Flat RGB Background — the solid background color to composite behind your icon.
- Flat RGB Transparency — the color to treat as transparent (for keyed transparency).
- Flat RGB Transparency Matt — optional matte color for smoother edges in formats like GIF.
- File Format — choose the target bitmap format. For this tutorial, select PNG:
- Export the PNG — click OK, choose a filename, and save. The result is a standard PNG you can use in app UIs (toolbars, buttons, notifications, stores) and across platforms.
Notes & troubleshooting
- Edges look soft? Export at integer multiples of your design grid and prefer even stroke widths for small sizes.
- Need many sizes? Use File → Export → Export to Multiple Bitmaps (Shift+F3) to generate 1×/2×/3× variants in one go.
- Keep the vector too: PNG is final output; keep the SVG source for future edits.
Related guides
Start Making SVG Icons Today with IconVectors
Download the fully-functional 30‑Day Free Trial and unlock your icon design workflow.
Version 1.70 for Windows and macOS