

Scale a stroked SVG icon up and its outline gets visibly heavier, because the browser multiplies stroke-width by the same factor as the geometry. Set vector-effect="non-scaling-stroke" on the path or its group and the stroke is rendered in screen pixels after the transform, so a 2px line stays 2px at 16px, 24px, or 96px.
This is a presentation attribute defined in SVG 2, also settable as the CSS property vector-effect. Chrome, Edge, Firefox, and Safari have shipped it for years; Internet Explorer never supported it, and a few PDF/print pipelines ignore it (see the trade-offs below).
Where non-scaling stroke matters: hairline icons
The effect pays off most for thin, line-built icons that must stay thin at any size. Common cases:
- Hairline UI icon sets: a 1px or 1.5px line set (menus, toolbars, empty states) that reuses the same file at 16px and 48px. Without the effect, the 48px version looks three times heavier than the 16px one.
- Zoomable diagrams and maps: when the user zooms in, the shapes should grow but connectors, borders, and grid lines should stay legible instead of turning into thick bars.
- Data visualization: axes, gridlines, and series strokes in one SVG scaled to fit its container keep a constant hairline regardless of the container width.
- Responsive logos and marks: a stroked wordmark shown in a small header and a large hero holds one consistent line weight from a single source file.
Pros and cons of vector-effect="non-scaling-stroke"
- Pro — constant UI weight: a 2px stroke reads as 2px at every rendered size, so an icon used in a 16px menu and a 48px empty-state keeps the same line weight without per-size SVGs.
- Pro — one attribute, whole icon: set it on a wrapping
<g>and every child stroke inherits it, instead of editing each path. - Con — sub-pixel blur when tiny: below roughly 16x16, a constant stroke can land between device pixels and the anti-aliasing softens caps and joins. Outlining the stroke to a filled path (covered below) gives you pixel control.
- Con — not universal: IE ignores it, and some PDF, print, and older SVG-to-bitmap renderers drop it. For those targets, outline the strokes or export a raster.
Prepare your SVG in IconVectors
- Open or create your icon:
- File -> Open... (Ctrl+O) or New Icon (Ctrl+N), working on a square grid such as 24x24 so stroke widths land on whole-pixel coordinates.
- Set
fillandstroketo currentColor so the icon inherits its color from CSS once it ships.
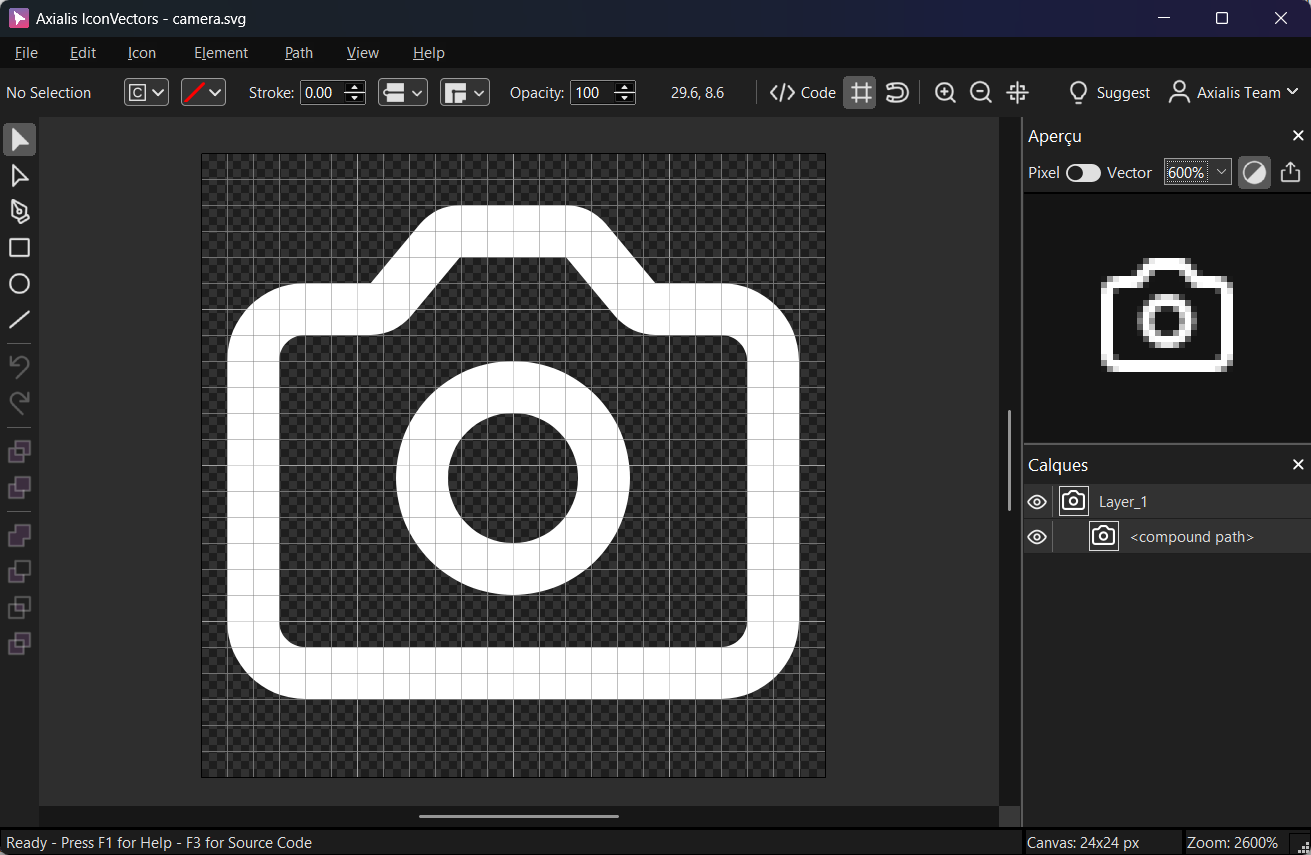
Export a minified SVG via File -> Export -> Export Minified (Shift+Ctrl+M), then open View -> Source Code (F3) to add the vector-effectattribute.
Apply non-scaling stroke (inline attribute or CSS)
You can set the effect two ways. Use the inline attribute when you want it baked into the icon file; use SVG-scoped CSS when you would rather toggle it with a class.
- Inline attribute (path or group)
<svg viewBox="0 0 24 24" xmlns="http://www.w3.org/2000/svg">
  <g vector-effect="non-scaling-stroke"
     stroke="currentColor" stroke-width="2" fill="none" stroke-linecap="round">
    <path d="M4 12 9 17 20 6"/>
  </g>
</svg>
On the
<g>it covers every child path. Size the SVG with CSS (width/height) or atransform: scale()and the rendered stroke stays at 2px. - SVG-scoped CSS
<svg viewBox="0 0 24 24" xmlns="http://www.w3.org/2000/svg">
  <style>
    .ns { vector-effect: non-scaling-stroke; }
  </style>
  <path class="ns" d="M4 12 9 17 20 6"
        stroke="currentColor" stroke-width="2" fill="none"/>
</svg>
Outline strokes instead: a step-by-step in IconVectors
Below about 16x16, a live stroke can sit between device pixels and blur at the caps and joins even with non-scaling-stroke on. For that crispness, or for PDF, print, and legacy targets that ignore vector-effect, convert the stroke to a filled path you control node by node.
- Select the stroked shape with the Selection Tool (V). To outline a whole icon at once, select every stroked path first.
- Outline the stroke with Path -> Outline Stroke Path (Ctrl+J). Each stroke becomes a filled shape whose outline matches the original width, caps, and joins, so it no longer depends on
stroke-width. - Simplify the result with Path -> Simplify Path... to drop the redundant nodes the outline adds and keep the exported file small.
- Align nodes to the pixel grid. Turn on View -> Snap to Grid (Shift+Ctrl+R), then nudge caps and joins to whole-pixel coordinates with the Path Edition Tool so they render crisp at 100%.
- Verify the geometry. Check the live pixel preview at 100% zoom, then open View -> Source Code (F3) to confirm the shapes are now filled paths with no
strokeattribute. - Export. Use File -> Export -> Export Minified (Shift+Ctrl+M) for the vector asset, or File -> Export -> Export to Multiple Bitmaps (Shift+Ctrl+F3) for bitmap-only targets.
Troubleshooting
- Stroke still scales: confirm the attribute is on the stroked shape or a parent
<g>. Older engines honored it only under SVG transforms; current browsers also respect CSS sizing. - IE or legacy PDF/print export: these can ignore
vector-effect, so outline the strokes before exporting to those formats. - Animated or dashed strokes: some libraries compute
pathLengthand dash arrays before applying vector effects. If the dash spacing drifts, outline the stroke first.
Related guides
Start Making SVG Icons Today with IconVectors
Download the fully-functional 30‑Day Free Trial and unlock your icon design workflow.
Version 2.10 for Windows - October 6, 2026. macOS and Linux: version 2.00 available now, 2.10 coming soon.