Raw SVG exports carry editor metadata, comments, redundant attributes, and bloated path data that inflate file size and clutter diffs. This guide shows you how to strip that down to a compact, themeable icon with the 1-click Minified export in IconVectors, and when to layer SVGO on top for build-time control over precision, IDs, and dimensions.
Why minify SVGs?
- Smaller files mean faster page loads and better Core Web Vitals.
- Cleaner markup is easier to diff, review, and combine into a sprite.
- Safer defaults remove metadata, comments, and extraneous attributes that don't matter at runtime.
Step-by-step in IconVectors
- Open, draw, or import your SVG icon.
- Open existing SVG: File → Open… (Ctrl+O)
- Create from scratch: New Icon (Ctrl+N)
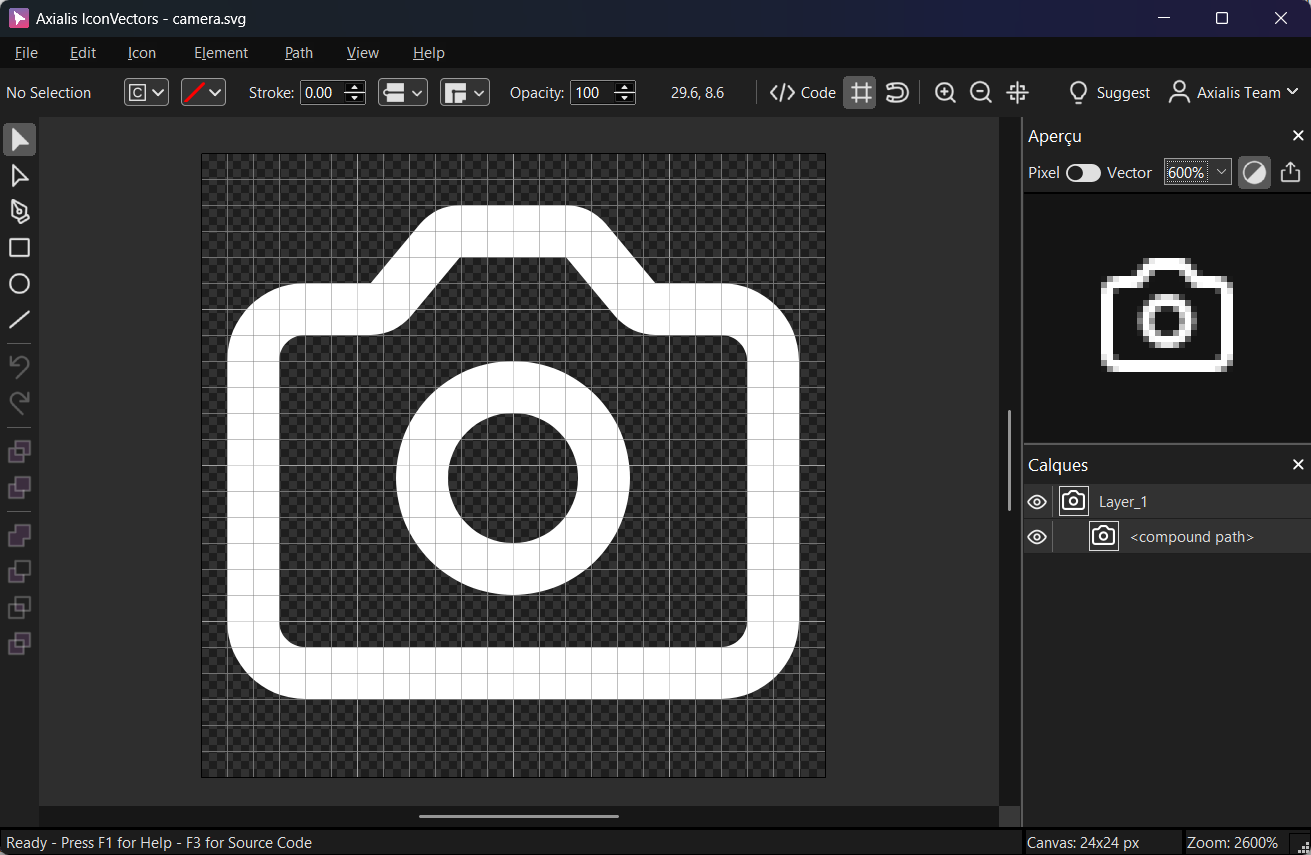
Design on a consistent grid; verify attributes with View → Source Code (F3). - Export a minified SVG — choose File -> Export -> Export Minified (Shift+Ctrl+M). This strips unnecessary whitespace and metadata and writes a compact, production-ready file. Confirm the result in the read-only code viewer (F3).
- Best-practice checklist (what your minified SVG should keep)
- Keep
viewBoxfor proper scaling (e.g.,viewBox="0 0 24 24"). - Use
currentColorfor fills and strokes so the icon can be themed via CSS. - Prefer simple paths (run boolean ops in the editor first) and snap to whole-pixel coordinates for crisp small sizes.
<!-- Good: compact, themable, scalable --> <svg viewBox="0 0 24 24" xmlns="http://www.w3.org/2000/svg"> <path d="M4 12l4 4 12-12" fill="none" stroke="currentColor" stroke-width="2"/> </svg> - Keep
- When to still run SVGO
The IconVectors Minified export is usually enough. Reach for SVGO in a build step when you need stricter control: unified coordinate precision, ID prefixing to avoid collisions across an inlined sprite, enforcing
removeViewBox: false, or strippingwidth/heightfor responsive sizing.Install (once per project):
npm i -D svgo
# or ad‑hoc:
npx svgo --version
Minimal
svgo.config.js(safe defaults):module.exports = { multipass: true, plugins: [ { name: 'preset-default', params: { overrides: { // Keep scaling behavior predictable removeViewBox: false, // Keep IDs stable unless you need prefixing: cleanupIDs: { minify: true } } } }, // Optional: make SVGs responsive by dropping width/height 'removeDimensions' ] };Run on a folder:
# Optimize all SVGs in ./icons to ./dist/icons
npx svgo -f icons -o dist/icons
Before → After (typical):
- <svg width="24" height="24" viewBox="0 0 24 24"> - <path fill="#000000" d="M4 12 L8 16 L20 4" /> - <!-- metadata, comments, unused groups... --> - </svg> + <svg viewBox="0 0 24 24" xmlns="http://www.w3.org/2000/svg"> + <path d="M4 12 8 16 20 4" fill="none" stroke="currentColor" stroke-width="2"/> + </svg> - Validate quickly
- Open the file with F3 to confirm
viewBox,currentColor, and compact path data. - Use a sprite or inline in HTML to confirm theming; avoid
<img src="…">if you need CSS color inheritance.
- Open the file with F3 to confirm
Notes & troubleshooting
- Lost colors after SVGO? Ensure you’re not replacing
currentColorinadvertently; keep fills/strokes intentional. - Icon won’t recolor — confirm paths use
fill="currentColor"/stroke="currentColor"and the SVG is inline/sprite (not an<img>). - Scaling broke — set
removeViewBox:falseso the root retains itsviewBox.
Related guides
- Minified SVG Icons (use case)
- Generate & Optimize SVG Icons with AI
- How to Use SVG Icons in Web Applications
Start Making SVG Icons Today with IconVectors
Download the fully-functional 30‑Day Free Trial and unlock your icon design workflow.
Version 1.70 for Windows and macOS