Shipping one PNG per icon per DPI bloats your wxWidgets binary and still looks soft on 150% and 200% displays. This guide replaces those PNGs with a single SVG per icon: you load it through wxBitmapBundle::FromSVG or wxBitmapBundle::FromSVGFile, request a wxBitmap at the size and scale your UI needs, and draw it crisply at any DPI, starting from a clean SVG exported with Axialis IconVectors.
How wxWidgets handles SVG
- Where SVG support lives —
wxBitmapBundle(wxWidgets 3.1.6+, stable since 3.2) providesFromSVG()for an in-memory SVG string andFromSVGFile()for an SVG on disk. A bundle is resolution-independent: you ask it for awxBitmapat a given size and it rasterizes on demand. - Rasterizer — wxWidgets uses the bundled NanoSVG to turn vector paths into pixels, so the same source renders at 16, 24, or 48 px without a separate asset for each.
- What it does not cover — NanoSVG handles paths, strokes, and flat fills; it ignores complex filters, masks, and many gradient features. Keep UI icons to simple geometry, which is what IconVectors exports by default.
- License — wxWidgets ships under the wxWindows Library Licence, which permits use in closed-source commercial apps. Download it from wxwidgets.org (source packages plus package-manager links).
Export a clean SVG from IconVectors
NanoSVG renders simple geometry reliably, so start from an icon built for that constraint:
- Open an existing icon with File → Open... (Ctrl+O) or start a fresh one with New Icon (Ctrl+N).
- Keep it a single-color shape on a clean
viewBox(for example0 0 24 24) so it scales predictably. - Export with File → Export → Export Minified (Shift+Ctrl+M) to strip editor metadata and shrink the string you embed.
-
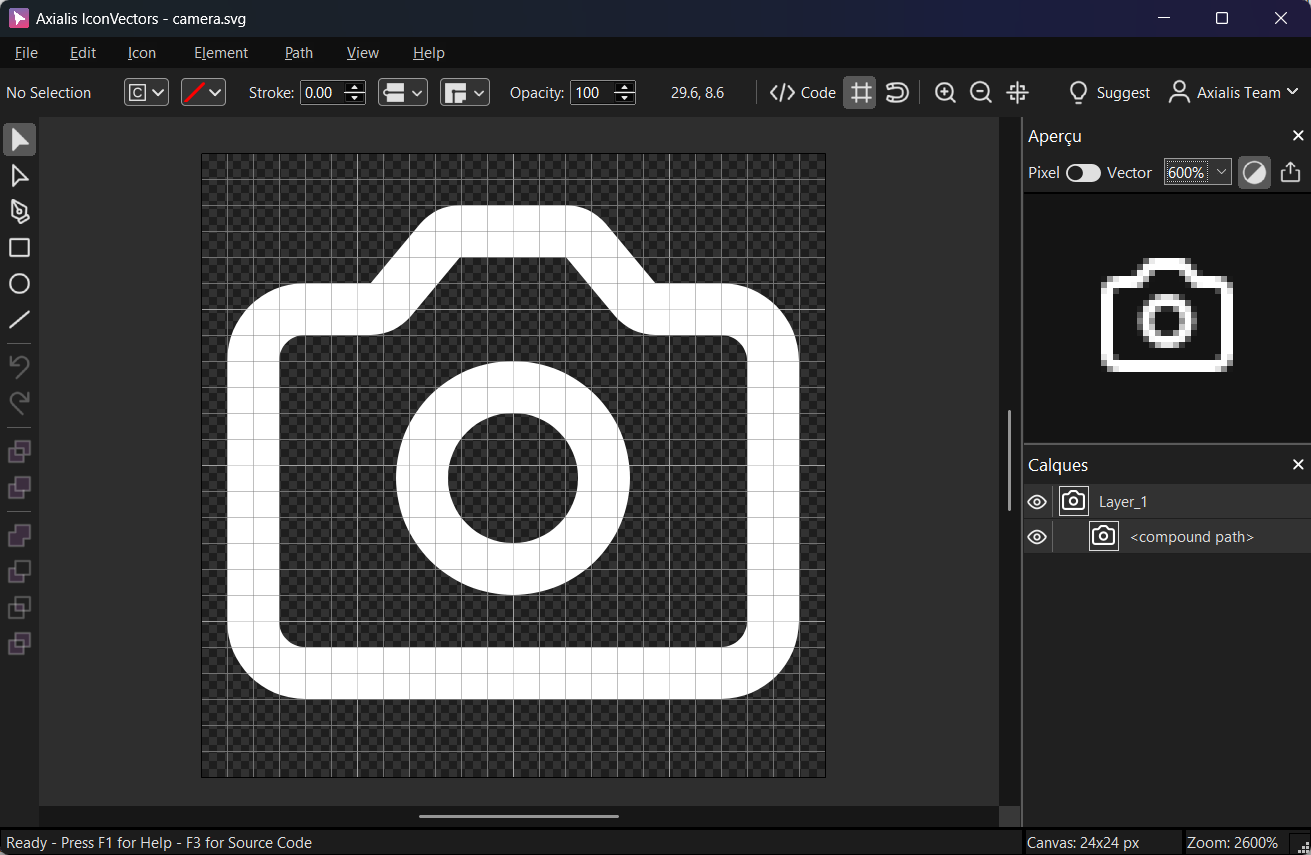
A clean, single-color icon on the IconVectors canvas before exporting minified SVG.
Option A — Inline SVG (wxString) to wxBitmap with wxBitmapBundle::FromSVG
Embedding the SVG as a string compiles the icon into your binary, so there is no file to ship or path to resolve at runtime. Pass the markup to wxBitmapBundle::FromSVG() to build a scalable bundle, request a wxBitmap at your target size, and draw it in a paint handler.
#include <wx/wx.h>

static const char kSvg[] = R"SVG(
<svg xmlns="http://www.w3.org/2000/svg" viewBox="0 0 24 24"><path fill="none"
stroke="currentColor" stroke-width="2" stroke-linecap="round" stroke-linejoin="round"
stroke-miterlimit="10" d="M14.8 3.4l1.9 2.3c.2 .2 .5 .4 .8 .4H20c1.1 0 2 .9 2
2v10c0 1.1-.9 2-2 2H4c-1.1 0-2-.9-2-2V8c0-1.1 .9-2 2-2h2.5c.3 0 .6-.1 .8-.4l1.9-2.3
c.2-.2 .5-.4 .8-.4h4.1C14.3 3 14.6 3.1 14.8 3.4zM8.5 12.5c0 1.9 1.6 3.5 3.5 3.5
s3.5-1.6 3.5-3.5s-1.6-3.5-3.5-3.5S8.5 10.6 8.5 12.5z"/></svg>
)SVG";

class MyApp : public wxApp {
public:
  bool OnInit() override {
    auto* frame = new wxFrame(nullptr, wxID_ANY, "SVG in wxWidgets (FromSVG)", wxDefaultPosition, wxSize(260,180));

    // Build a scalable bundle from an in-memory SVG
    wxBitmapBundle bundle = wxBitmapBundle::FromSVG(kSvg, wxSize(24,24));
    wxBitmap bmp = bundle.GetBitmapFor(wxSize(24,24)); // request target size

    frame->Bind(wxEVT_PAINT, [frame, bmp](wxPaintEvent&){
      wxPaintDC dc(frame);
      dc.DrawBitmap(bmp, 40, 40, /*useMask=*/true);
    });

    frame->Show();
    return true;
  }
};
wxIMPLEMENT_APP(MyApp);
Tip: For HiDPI, compute the target size with frame->FromDIP(wxSize(24,24)) before calling GetBitmapFor().
Option B — External file to wxBitmap with wxBitmapBundle::FromSVGFile
Loading from disk keeps icons swappable without recompiling, which suits themeable or pluggable UIs. Point wxBitmapBundle::FromSVGFile() at a packaged file such as icons/check.svg, request the wxBitmap, and draw it the same way.
#include <wx/wx.h>

class MyApp : public wxApp {
public:
  bool OnInit() override {
    auto* frame = new wxFrame(nullptr, wxID_ANY, "SVG in wxWidgets (FromSVGFile)", wxDefaultPosition, wxSize(260,180));

    wxString path = wxT("icons/check.svg");
    wxBitmapBundle bundle = wxBitmapBundle::FromSVGFile(path, wxSize(24,24));
    wxBitmap bmp = bundle.GetBitmapFor(wxSize(24,24));

    frame->Bind(wxEVT_PAINT, [frame, bmp](wxPaintEvent&){
      wxPaintDC dc(frame);
      dc.DrawBitmap(bmp, 40, 40, /*useMask=*/true);
    });

    frame->Show();
    return true;
  }
};
wxIMPLEMENT_APP(MyApp);
Using the bitmap in controls
- Set an icon on a button:
wxButton* btn = new wxButton(frame, wxID_ANY, "OK"); btn->SetBitmap(bundle.GetBitmapFor(wxSize(16,16))); - For toolbars/menus, request the size your UI uses and pass the resulting
wxBitmap.
Notes and troubleshooting
- Build requirements —
FromSVG/FromSVGFileneed wxWidgets 3.1.6+ (3.2 or later recommended) built with SVG support; NanoSVG is bundled, so no extra dependency is required in a standard build. - Blank or wrong-size bitmap — if nothing draws, the SVG likely uses a feature NanoSVG drops (a filter, mask, or unsupported gradient). Re-export it minified from IconVectors and confirm it is a single flat shape.
- Per-monitor DPI — always size with
GetBitmapFor(frame->FromDIP(size))so each window picks up its own display scale instead of a fixed pixel size.
Related guides
- SVG Icons in C++ with LunaSVG
- SVG Icons in C++ with NanoSVG
- SVG Icons in C++ with WinUI & Qt
- C++ SVG Icons (use case)
Start Making SVG Icons Today with IconVectors
Download the fully-functional 30‑Day Free Trial and unlock your icon design workflow.
Version 1.70 for Windows and macOS